8 Ways An App For Meal Prep Upgrades Your Dinner Party
 16 min read
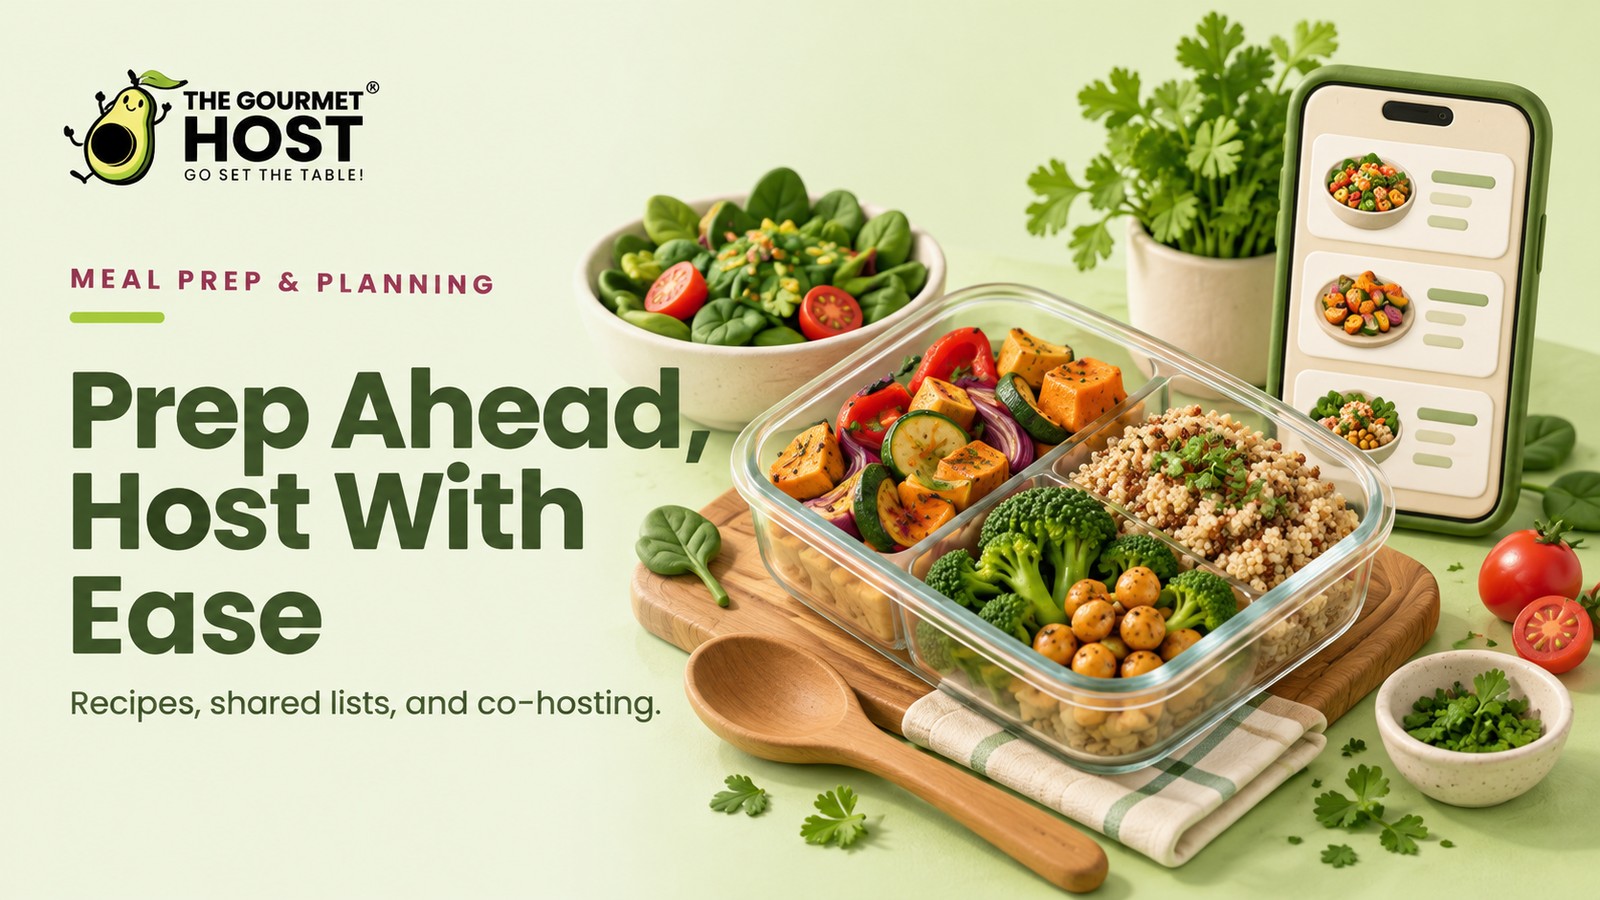
Finding the right app for meal prep transforms your approach to hosting four to twelve guests on a Saturday night. Relying on digital organization gives you the freedom to build scalable menus and enjoy conversations with friends.
This guide shows you practical techniques to complete your kitchen work days early. You will discover exactly when to bake doughs, how to manage room temperature sides, and the precise timelines for storing drinks. Organizing your recipes digitally guarantees you always have clear directions ready for your next gathering.
At a Glance
- Large batch proteins offer versatile centerpieces that hold well in the refrigerator or freezer.
- Baking doughs weeks in advance guarantees you always have fresh components ready for arriving guests.
- Separating starches from liquid bases keeps your early vegetable broths crisp and flavorful.
- Proper beverage organization allows you to welcome friends with a drink immediately upon arrival.
- An app for meal prep centralizes your shopping lists and guest dietary preferences in one location.
What “app for meal prep” means for home hosts
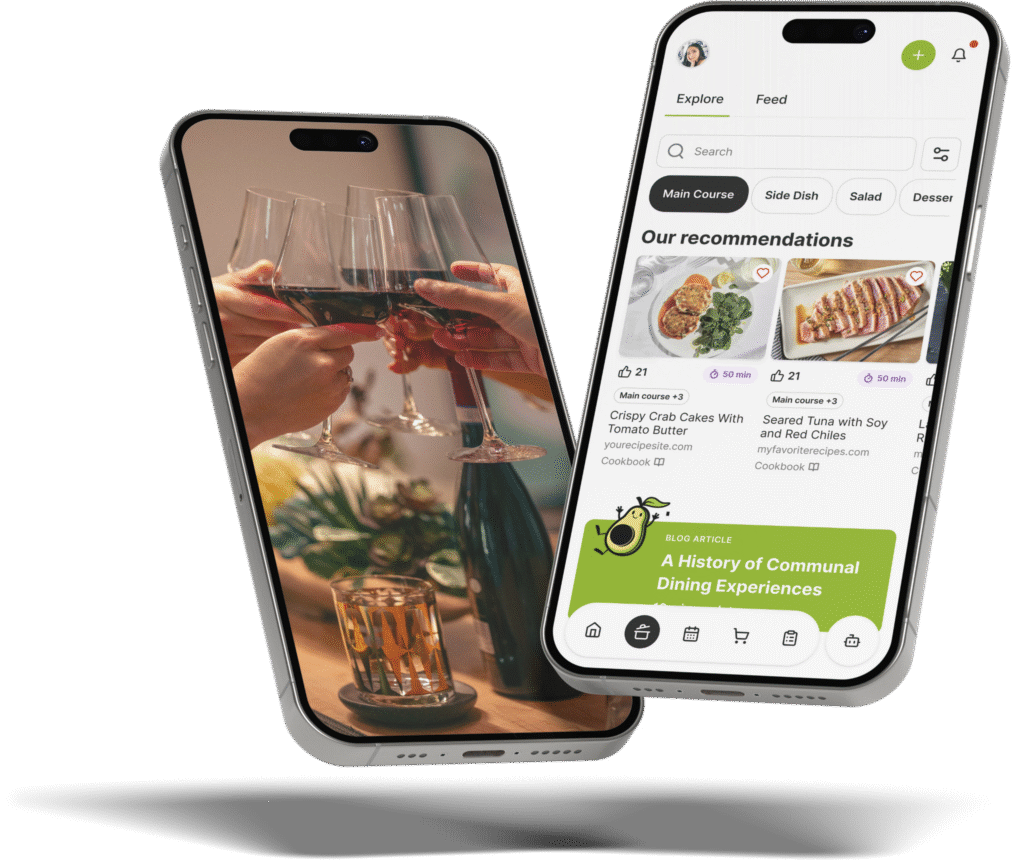
Using an app for meal prep involves utilizing a specialized digital tool to centralize your menus, shopping lists, and guest details. This goes beyond a basic note pad on your phone. A dedicated digital platform stores menu choices and guest dietary notes for you to review.
You apply this technology when planning weekend gatherings or holiday events with four to twelve attendees. Instead of shuffling through loose recipe cards or scrolling endless text message threads, you access everything in a single digital workspace.
People often confuse this with generic grocery delivery software. While grocery tools only track items to buy, a proper hosting platform guides your entire culinary timeline. It brings recipes, shared grocery lists, and co-host expenses together so you can review portions and ingredients before shopping.
How can you prep large batch proteins for group dinners?
Preparing large cuts of meat ahead of time drastically reduces day of tasks for a dinner party. A single large roast can serve a crowd or be frozen in portions, allowing you to quickly assemble tacos, sandwiches, or plated mains right before your guests arrive.For more preparation ideas, see Make-Ahead Recipes for Large Groups: The 7-Day Chainv.
Cooking a massive protein requires a steady, low temperature to break down tough connective tissues. You achieve the best results by braising a beef chuck roast or a pork shoulder in a rich liquid for several hours. This slow cooking technique guarantees a tender, pull apart texture that your friends will love.
RecipeTin Eats notes that a single 5-pound bone-in pork shoulder yields roughly 10 cups of shredded pork, enough to prepare 5 to 6 distinct freezer-friendly meals serving four people.
This massive yield provides an incredible foundation for a weekend gathering. You can feed a large crowd effortlessly by centering the menu around this single, scalable item.
After the meat finishes braising, you must let it cool slightly before handling. Shred the warm protein using two large forks, pulling the muscle fibers apart evenly. Discard any large pieces of fat or gristle to ensure a pleasant texture for your diners.
Transfer the shredded meat into airtight glass or plastic storage containers.
Pour a small amount of the leftover cooking liquid over the meat to keep it moist during refrigeration. Seal the containers tightly and store them in the refrigerator for up to three days before your event.
On the evening of your dinner party, you only need to reheat the prepared meat. Spread the shredded protein across a wide baking sheet and warm it in a hot oven to create crispy edges. Alternatively, you can heat the meat gently in a large skillet on the stove, folding in fresh salsa or barbecue sauce just before serving.
|
Plan Your Menu Together |
What is the best way to freeze breads and doughs for a gathering?
Baking fresh bread on the day of your party demands significant attention, but you can bake or prep dough weeks in advance. Proper freezing techniques prevent ice crystals and preserve texture, ensuring your dinner rolls or pizza bases taste freshly made when served.For more preparation ideas, see Make-Ahead Appetizers for Stress-Free Party Hosting.
Timing yeast doughs perfectly for an evening event requires precise scheduling and ideal kitchen temperatures. Eliminating this variable by baking ahead of time provides a massive relief. You can focus entirely on your main courses while your breads simply thaw on the counter.
King Arthur Baking states that most freshly baked bread can be frozen for up to three months, while gluten-free bread should be consumed within one month. This generous window allows you to prepare complex brioche buns or sourdough loaves during a free weekend long before your scheduled gathering.
Cool your baked goods completely on a wire rack before attempting to store them. Any residual heat trapped inside a storage bag creates condensation, which inevitably leads to soggy crusts and freezer burn. Wrap the cooled bread tightly in aluminum foil, then place it inside a heavy plastic freezer bag.
If you prefer to make pizzas with your friends, you can freeze the raw dough balls instead of baking them first.
King Arthur Baking recommends replacing 2 to 3 tablespoons of a pizza dough recipe’s water with oil when freezing dough to minimize ice crystal formation. This small adjustment preserves the dough’s elasticity and guarantees a perfect rise later.
Thaw your frozen baked bread at room temperature for several hours before your dinner party begins. To revive the crust, place the thawed loaf directly on the middle rack of a warm oven for five to ten minutes. The dry heat crisps the exterior, filling your kitchen with the aroma of a bustling bakery right as guests arrive.
Health Canada recommends refrigeration at 40°F (4°C) or below and prompt cooling in shallow containers. Refrigerate perishables within two hours, or one hour above 90°F (32°C); reheat leftovers to 165°F (74°C). Freeze cooked portions intended beyond their two-to-three-day refrigerated storage window.
How should you prepare soups and broths ahead of time?
Soups make an excellent, low maintenance starter for dinner parties because their flavors deepen overnight in the refrigerator. However, to maintain the perfect texture when prepping ahead, you must separate liquid bases from starchy additions.For more preparation ideas, see Best Batch Cocktails for Effortless Entertaining.
Building a complex soup base requires slowly sweating aromatics like onions, carrots, and celery. Simmering these vegetables with fresh herbs and quality stock creates a foundation that actually improves after resting. The extended chilling period allows the individual flavor compounds to meld together beautifully.
Taste of Home recommends withholding starches like pasta, rice, and cubed potatoes when freezing soups, as they absorb liquid and become soggy upon reheating. Starchy ingredients continue to drink up broth even in cold environments, turning a delicate minestrone into a thick, unappealing mush.
Prepare your rich vegetable or meat broth entirely up to three days before your event. Cool the large pot of liquid rapidly by placing it in a sink filled with ice water, stirring occasionally to release the heat. Transfer the chilled broth into airtight containers and store them in the back of your refrigerator.
On the day of your party, boil a separate pot of salted water for your noodles, rice, or diced potatoes.
Cook these starchy elements until they are just tender, then drain them thoroughly. Keep them in a small, lightly oiled bowl until you are ready to serve the first course.
Bring your prepared broth back to a gentle simmer on the stove approximately twenty minutes before dinner. Place a small spoonful of the cooked pasta or rice directly into the bottom of each guest’s bowl. Ladle the hot, fragrant broth over the starches, garnishing with fresh parsley or grated cheese immediately before carrying the bowls to the table.
How can you safely store and serve pre-cooked meats?
If you are serving a cold spread or reheating pre-cooked meats for a buffet, food safety and timing are critical. Properly stored cooked meats maintain their flavor and safety for several days, giving you flexibility.For more preparation ideas, see How to Ask Guests About Dietary Restrictions: Scripts.
Charcuterie boards, chilled chicken salads, and sliced roast beef platters rely entirely on properly handled cold proteins. Managing these items correctly prevents foodborne illness and ensures a pleasant texture. You must track exactly when you cooked or thawed the items to serve them safely.
Taste of Home states that after being thawed in the refrigerator, cooked chicken and cooked ground beef remain safe to eat for 3 to 4 days. This reliable timeline means you can pull a frozen, pre-cooked protein into the refrigerator on a Wednesday for a Saturday evening gathering.
Always thaw frozen cooked meats gradually in the refrigerator rather than leaving them on the kitchen counter. A slow thaw maintains the cellular structure of the meat, preventing it from becoming dry or stringy. Place the sealed meat container on a small tray on the lowest shelf to catch any potential condensation.
When assembling a cold meat platter, use a very sharp chef’s knife to slice the protein as thinly as possible.
Thin slices are easier for guests to chew and layer beautifully on small appetizer plates or crackers. Arrange the sliced meat elegantly alongside mustard, pickles, and artisanal cheeses.
Keep cold meat platters at 40°F (4°C) or below until serving and put out small portions. Discard perishable food left out for more than two hours, or one hour above 90°F (32°C); returning it to the refrigerator does not reset that limit.
|
Hosting Tip: label before you freeze. |
How far in advance can you prep the bar and wine selection?
Drink preparation is just as critical as the food menu when hosting. Organizing your wine, batching welcome cocktails, and chilling non alcoholic options days ahead ensures you can immediately hand a drink to arriving friends.For more preparation ideas, see Co-Hosting and Progressive Dinner Party Planning.
A self-serve beverage station prevents you from playing bartender all night. By setting up the glasses, ice buckets, and garnishes early, you allow your attendees to mix their own drinks. This strategy keeps traffic flowing away from your busy cooking area.
Wine Folly states that most light white and rosé wines remain drinkable for 5 to 7 days when recorked and stored in the refrigerator. This extended freshness allows you to batch wine-based punches or sangrias long before the doorbell rings.
If you plan to serve a signature cocktail, mix the base liquors, juices, and syrups in a large glass pitcher the night before. Keep this batched mixture tightly covered in the refrigerator to chill thoroughly. Wait to add any carbonated ingredients, like tonic water or sparkling wine, until the exact moment you serve the drinks.
| Beverage Component | Ideal Storage Location | Maximum Make-Ahead Time | Serving Detail |
|---|---|---|---|
| Batched fruit juices | Refrigerator shelf | 48 hours | 40 degrees Fahrenheit |
| Light white wine | Refrigerator door | 5 days | 45 to 50 degrees Fahrenheit |
| Simple syrups | Refrigerator shelf | 14 days | 1 ounce per cocktail |
| Citrus garnishes | Airtight container | 24 hours | Room temperature |
| Carbonated mixers | Pantry or Refrigerator | Follow best-before date | Open immediately before pouring |
Clear ample space in your refrigerator for all the required bottles at least two days in advance. Remove bulky condiment jars temporarily if necessary, ensuring the wine and beer bottles can lay flat or stand upright safely. A dedicated beverage chilling zone means every drink hits the glass at the ideal temperature.
Set your bar area with clean glassware, small napkins, and a bowl of fresh citrus wedges on the morning of the event. Place a small, framed menu on the table detailing the ingredients of your batched cocktail. This small touch answers questions instantly and encourages guests to try your prepared creations.
How do you plan a menu that tastes great at room temperature?
For casual mingling or buffet style gatherings, choose dishes that do not require constant heating. Room temperature foods often need bolder seasoning because cooler temperatures naturally mute flavors, ensuring the food remains delicious as it sits.
Attempting to keep four different side dishes piping hot requires specialized warming equipment and impeccable timing. Selecting robust salads, roasted vegetables, and hearty grains eliminates this frantic juggling act entirely. These sturdy items patiently wait on the dining table while you finish the final details of the evening.
Just One Cookbook explains that traditional Japanese bento meals are seasoned more heavily with salt or sauces than standard hot dishes because they are intended to be eaten at room temperature. You must apply this exact principle to your dinner party buffet items.
Human taste buds perceive salt and sweetness less intensely when food cools down. To counteract this natural effect, you should add an extra pinch of finishing salt to your roasted carrots or green beans. A small splash of bright apple cider vinegar or lemon juice also revitalizes a cold dish instantly.
Choose sturdy base ingredients like farro, quinoa, or pearl barley for your room temperature salads.
Unlike delicate mixed greens, these hearty grains will not wilt when sitting out for an hour. Toss the grains with dried fruits, toasted nuts, and a vigorous vinaigrette to create a deeply satisfying, durable side dish.
Plate your room temperature items on large, decorative platters to create a beautiful visual spread. Garnish the edges with fresh herbs or edible flowers just before opening the buffet line. This approach guarantees a stunning presentation that tastes vibrant from the first bite to the last.
How do you handle dietary restrictions and menu substitutions?
Accommodating dietary restrictions requires careful planning before you ever step foot in the grocery store. Collecting allergen information early allows you to select naturally inclusive recipes rather than cooking entirely separate meals for specific attendees.
Discovering a guest cannot eat dairy or gluten as they sit down at your table creates immediate panic. You can avoid this completely by asking about food sensitivities during the initial invitation process. Clear communication sets a foundation of care and ensures everyone feels truly welcome at your gathering.
An app for meal prep can keep guest dietary notes alongside your menu for review.
Review your guests’ dietary notes against every recipe and ingredient label. Agree on suitable substitutions directly with the guest and use a tested recipe when changing an ingredient affects its texture or cooking method.
Design a cohesive menu where the restricted items remain separate and optional. For example, serve a vibrant, dairy-free vegetable curry as the main course, offering a bowl of yogurt on the side for those who want it. This strategy feeds the entire crowd safely without making the allergic guest feel isolated.
Read all packaged ingredient labels meticulously when shopping for your inclusive menu.
Hidden allergens often lurk in unexpected places, like soy sauce containing wheat or broth containing dairy derivatives. Checking every label guarantees your kitchen remains a safe environment for your friends.
Prevent cross-contamination during your cooking process by using separate cutting boards and utensils for the allergen-free dishes. Wash your hands thoroughly between handling different components. Dedicating specific prep zones in your kitchen gives you peace of mind and protects your vulnerable attendees.
How do you coordinate shopping lists and co-host responsibilities?
Splitting dinner party duties prevents the primary host from managing every kitchen task alone. Assigning specific side dishes or beverage responsibilities to a cohost divides the work and makes the gathering feel deeply collaborative.
Entertaining friends should feel like a shared community experience, not a solitary marathon. Inviting a friend to arrive an hour early to help chop vegetables or manage the music playlist changes the entire atmosphere. Shared effort builds intimacy and creates lasting memories long before the meal begins.
Using an app for meal prep allows you to share digital shopping lists instantly with your cooking partner.
You can assign the wine and dessert purchases to your cohost while you handle the butchery and produce aisles. This digital coordination prevents duplicate purchases and ensures no critical ingredient gets left behind.
Communicate your exact kitchen timeline with your cohost a few days before the event. Detail when the oven will be occupied with the large roast and when the stovetop will be available for simmering sauces. A clear schedule prevents two people from fighting over the same burner at a crucial moment.
Delegate the ambiance and dining room setup entirely to your partner. While you carve the protein and dress the salads, your cohost can light the candles, fold the napkins, and pour the welcome drinks. Dividing these final tasks guarantees the food arrives hot and the table looks spectacular simultaneously.
|
Share the Preparation |
How The Gourmet Host Helps You Organize Meal Prep for Gatherings
The Gourmet Host transforms how you approach dinner party planning by centralizing recipes, guest management, and costs. Instead of juggling a generic meal planner template for groceries and separate records for RSVPs, you can build an interactive event page that handles the entire social gathering.
With access to over 500 professional test kitchen recipes and a personal recipe collection, the app acts like a digital organizer you can always count on. You can browse recipes for your desired flavor profile or main ingredient and keep your chosen dishes with the menu. This centralized collection eliminates the frustration of losing a great recipe in a sea of open browser tabs.
The platform truly excels at managing the intricate details of a large group dinner. The Gourmet Host shared menu planning ensure no one feels left out.
Guest dietary notes stay with your event, so you can review recipes and choose appropriate replacements. You can check ingredients directly with guests who need to avoid peanuts or dairy before you cook.
Create an interactive event page on The Gourmet Host to invite co-hosts, automatically sync your shopping list, and utilize the cost-splitter to manage post-party logistics and coordinate contributions. When you share the hosting duties, you reduce your personal financial strain and encourage a collaborative spirit. The app calculates exactly who owes what for the groceries and wine, completely removing any awkward money conversations from the dinner table.
Start exploring thegourmethost.com to build your next menu and discover how organized cooking creates better gatherings. You will find that sharing a meal with friends becomes infinitely more enjoyable when the logistics run smoothly in the background.
Frequently Asked Questions
How do you plan a menu for a dinner party of 12?
A dinner party of 12 requires scalable recipes and prep-ahead components. Focus on a large-batch main dish, like a roast or braise, alongside sides that taste excellent at room temperature. Batch cocktails in pitchers before guests arrive to minimize active bartending during the event.
What is the best way to handle guest dietary restrictions?
Handling dietary restrictions requires clear communication during the RSVP process. Ask guests for their allergies upfront and choose easily adaptable recipes. Keep those notes with your menu, check every ingredient label, and discuss substitutions and cross-contact precautions directly with the guest.
How do you split the cost of a dinner party?
Splitting the cost of a dinner party is easiest when planned in advance. Cohosts should agree on a budget before grocery shopping. Using a dedicated app with a built-in cost-splitter allows hosts to input receipts and divide expenses transparently without awkward conversations at the dinner table.
What tasks can you assign to a dinner party co-host?
A dinner party cohost can manage the beverage station, curate the evening’s playlist, or coordinate party games. Delegating side dishes, managing the guest list and RSVPs, or overseeing the final kitchen cleanup allows the primary host to focus on the main course and entertaining.
How early should you start preparing for a dinner party?
Preparation for a dinner party should begin at least one week in advance. Finalize the menu, send invitations, and order specialty groceries early. In the days leading up to the event, bake and freeze breads, prep marinades, and arrange table decor to reduce day of tasks.
How do you manage drinks and cocktails while cooking?
Managing drinks while cooking requires setting up a self-serve home bar away from the kitchen. Prepare a large batch welcome cocktail or punch in a pitcher and chill wine beforehand. This allows guests to pour their own drinks while the host finishes the meal.
Continue Reading:
More On Meal and Menu Planning Apps
- 7 Weekly Meal Planner Recipes for Host Success
- 7 weekly meal planner templates for easy hosting
- 7 Printable Weekly Meal Planner Tips for Home Hosts
- 7 Ways A Meal Prep App Perfects Your Dinner Party
- 1 Easy 7 day family meal plan For Home Hosts
More from The Gourmet Host
- Make-Ahead Recipes for Large Groups: The 7-Day Chainv
- Make-Ahead Appetizers for Stress-Free Party Hosting
- Best Batch Cocktails for Effortless Entertaining
- How to Ask Guests About Dietary Restrictions: Scripts
- Co-Hosting and Progressive Dinner Party Planning
Explore TGH Categories