Food Presentation Techniques: Easy Plating Tips for Cooks
A restaurant kitchen has squeeze bottles lined up like paint tubes, ring molds in three sizes, and a chef who spent years learning to wield them. Your kitchen has a spatula with a wobbly handle and guests arriving in forty-five minutes.
That gap sounds wide—but it is mostly an illusion. The food presentation techniques that actually make a lasting impression at dinner parties rely on ideas, not equipment: how you use negative space, where you place a focal point, and which colors you put side by side.
This guide breaks down the plating process into everyday steps so your next finished plate looks intentional, inviting, and entirely yours—no culinary arts degree required.
We’ve distilled the various food plating techniques that matter most when real guests sit down at a real table.
At a Glance
- The rule of thirds creates a natural focal point without measuring anything.
- White plates and smaller plates give you the most forgiving canvas for plating at home.
- Color, height, and negative space do more for visual appeal than any special tool.
- Edible flowers and fresh herbs add an artistic touch in seconds—no pastry skills needed.
- A squeeze bottle is the one professional tool worth buying for sauce work and accent dots.
What Are Food Presentation Techniques?
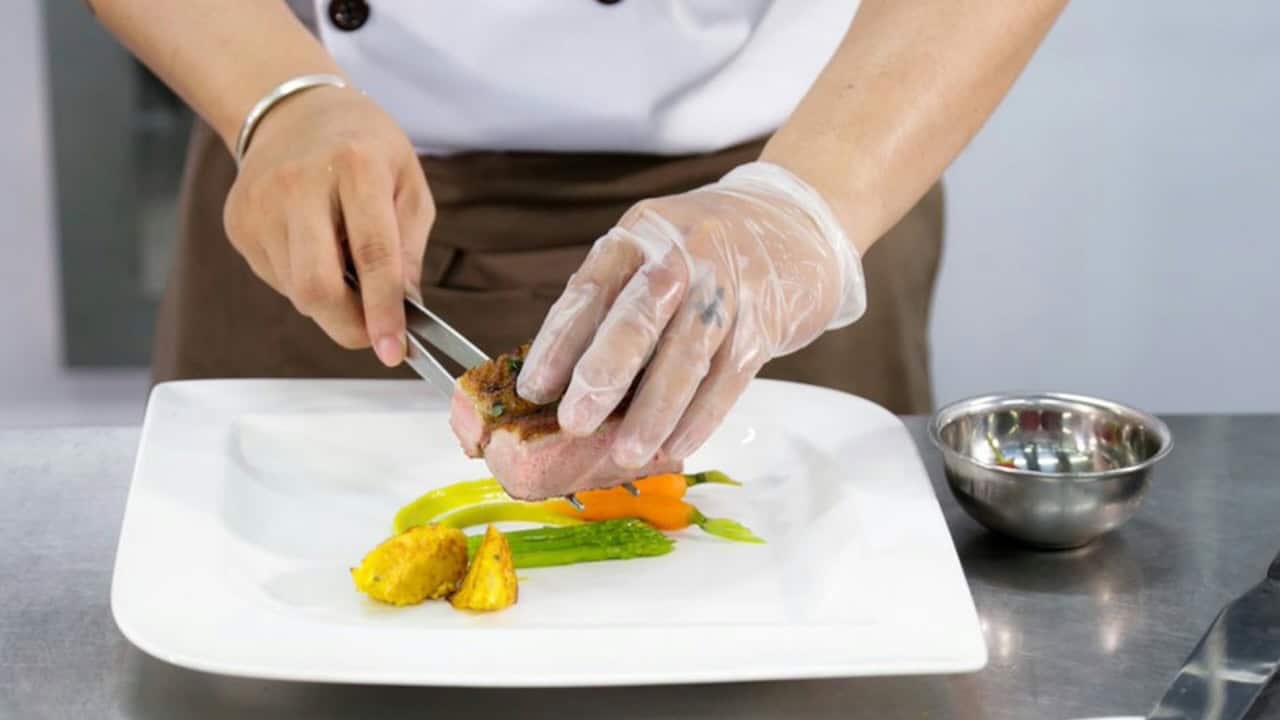
Food presentation techniques are the methods a cook uses to arrange, garnish, and style food on a plate so it appeals to the eye before it reaches the taste buds. Unlike restaurant plating that prioritizes speed and consistency across dozens of covers, home-focused culinary presentation is about the right balance of beauty and warmth on a table where everyone knows your name.
Classic and Modern Plating Styles Every Home Host Should Know
Understanding different plating styles gives you a visual vocabulary to draw from each time you cook for guests. You do not need to master all of them—picking one or two that match your cooking style is the easiest way to build consistency.
Classic plating follows a familiar formula: protein at six o’clock, starch at ten, and vegetables at two, arranged on a dinner plate with clean sight lines.
It works because guests instinctively know where to look. According to WebstaurantStore’s food presentation guide, this layout remains the standard in fine dining restaurants precisely because the brain reads it as balanced.
- Classic plating: The main ingredient holds center stage with starch and vegetable in supporting positions. Best for roasts, grilled proteins, and any dish look that benefits from symmetry.
- Free-form plating: Components scatter organically across the plate, giving a natural, modern feel. Works well with grain bowls, composed salads, and dishes featuring bright colors.
- Landscape plating: Food is arranged in a horizontal sweep. This style of plating suits long rectangular plates and showcases different ingredients in a single visual sweep.
Free-form plating and modern plating techniques give you room to play. A scattering of roasted beets on a dark plate with a swipe of yogurt is free form plating at its most approachable.
Le Cordon Bleu Malaysia outlines eight popular food plating techniques aspiring chefs can practice, including stacking and fanning—all transferable to a home kitchen.
Once you recognize these various plating techniques, choosing one for tonight’s dinner becomes a creative decision rather than a guessing game.
The culinary world offers dozens of different techniques, but even the most popular food plating techniques come down to these core ideas—master them and you take every plate to the next level.
|
📨 Hosting Tips Delivered Weekly 📨 Get Weekly Hosting Inspiration — Join thousands of hosts. |
How the Rule of Thirds and Negative Space Transform a Plate
The rule of thirds is the single most useful composition principle you can borrow from photography. Imagine your plate divided into a three-by-three grid. Place your main component at one of the intersections—off center—and the eye travels naturally across the plate presentation.
As Culinary Arts Switzerland explains, the effect feels intentional even when it takes just seconds.
Negative space—the empty space you deliberately leave uncovered—does as much work as the food itself. A well-plated dish breathes. But when you crowd every component of the dish to the rim, nothing stands out. When you pull back and let a third of the plate rest clean, your main item commands attention.
As a general rule, a sense of balance between filled and open space is what separates a rushed plate from a composed one.
Home cooks who learn just the rule of thirds and negative space see an immediate jump in how polished their plates look. It is the great way to make a huge difference without buying a single new tool.
With composition covered, the next question is which plate to put it on—because the canvas matters almost as much as the paint.
|
🍽️ Plan Your Menu, Then Plate with Confidence |
Choosing the Right Plate for Every Dish
The right plate is not the most expensive one in the cabinet—it is the one that makes your food look its best. Plate size controls perception: smaller plates make portion sizes look generous, while large plates demand careful placement to avoid looking sparse.
White plates remain the go-to canvas for a reason. As Escoffier Online notes in their food presentation principles guide, a plain white plate creates high contrast against nearly any food color, letting your use of color do the talking. That said, dark plates create drama for lighter dishes—think pale risotto on matte black.
- Round plates: The classic. Circular plates work for nearly every cuisine and plating style. They are forgiving for beginners because the shape naturally draws the eye inward.
- Rectangular and square plates: Best for landscape plating or dishes with long visual lines. Sushi, composed appetizers, and dessert bars shine on flat rectangular surfaces.
- Bowls and deep plates: Ideal for dishes with sauces, grains, or layered components. The depth adds dimension and keeps food items contained while still looking composed.
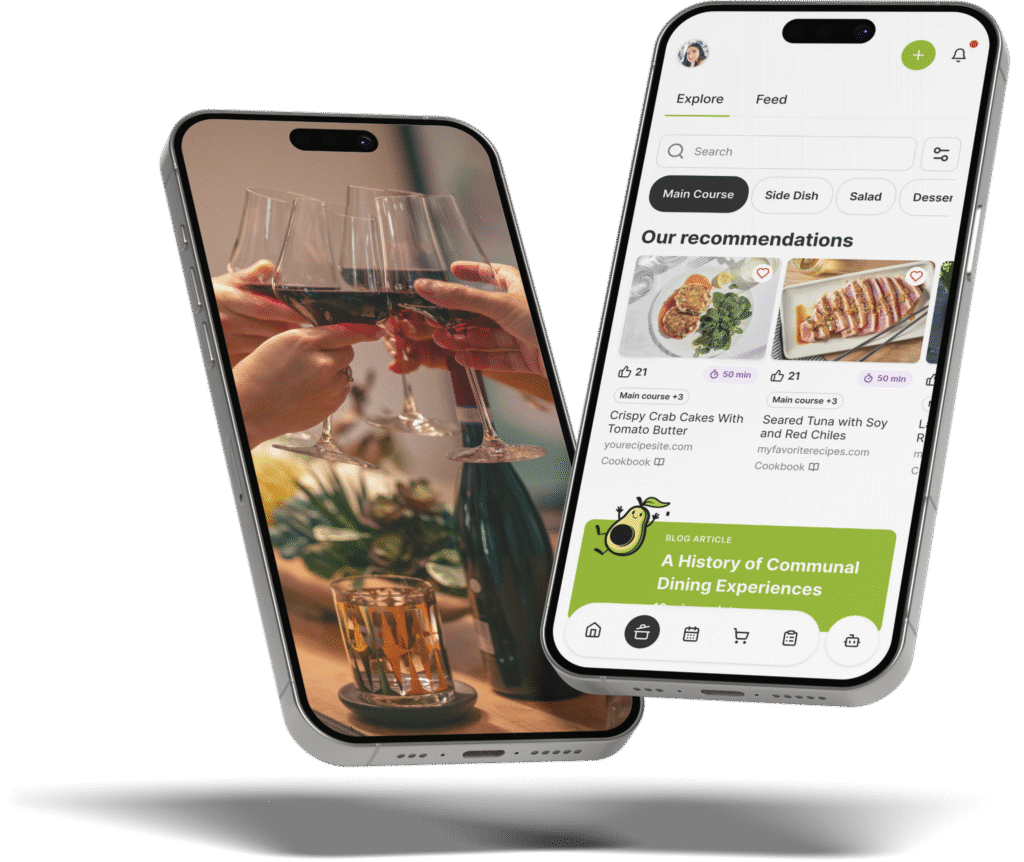
Planning what to serve on which plate is easier when your full menu lives in one place. Inside The Gourmet Host app, you can organize each course alongside timing notes—so you know whether that risotto needs a wide bowl or a flat plate before the night begins.
The plate sets the stage, but color is what fills it with life.
Using Color and Contrast to Boost Visual Appeal
Color is the fastest shortcut to a well-presented dish. The human eye reads contrasting colors as appetizing—think red tomato against green basil, golden seared crust beside a white puree.
According to Dufour Gourmet’s art of food presentation guide, the color palette on your plate can signal freshness, richness, or brightness before guests take a single bite.
You do not need a color wheel taped to the fridge. A few great food presentation habits handle it:
- Complementary colors: Opposites on the color wheel—orange salmon on a bed of deep green kale, purple cabbage slaw beside a golden fried cutlet. These combinations create visual pop.
- Bright accents: A sprinkle of spices like paprika over hummus, edible flowers tucked beside a dessert, or a drizzle of green herb oil across a soup. Bright colors draw the eye to a specific spot.
- Monochrome caution: Beige chicken, beige potatoes, beige bread. If your plate reads as one color, add a quick pop—a handful of microgreens, a ribbon of carrot, a scatter of pomegranate seeds.
A cook’s eye for color is as important as their palate. In our experience hosting, a single complementary color addition—even something as small as a lemon wedge—can take a dish look from home-cooked to host-worthy.
Color plays an important role in how food bloggers and home hosts alike build edible garnishes that photograph as well as they taste. Even smaller portions feel generous when they pop against a contrasting plate, and arranging components in different sizes—a large protein beside a small herb cluster—adds visual rhythm. Color gets the plate noticed. Height and texture keep the eye moving.
|
Serve a Crispy Element at Exactly the Last Moment |
Building Height and Layering with Simple Plating Tools
Height turns a flat plate into a work of art. Stacking elements—even loosely—creates shadow and dimension that makes any food arrangement feel considered.
A mound of mashed potatoes with a leaning lamb chop, a salad built upward in a bowl rather than pressed flat—these small moves make a significant role in the overall impression.
The Lightspeed HQ plating guide notes that height naturally creates a sense of abundance without adding more food.
And as Toast’s plating techniques breakdown explains, the squeeze bottle is the one professional tool worth having in a home kitchen—it lets you draw clean sauce lines, dot accent patterns, and write in coulis with control that a spoon cannot match.
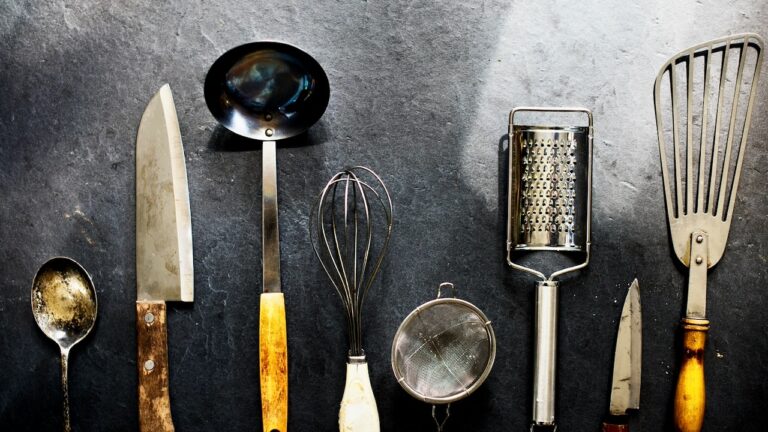
Beyond the squeeze bottle, Cuisine Noir’s food plating ideas for home cooks recommends keeping offset spatulas and fine-tip tweezers accessible—both cost under ten dollars and let you move small portions with precision.
Height and tools play significant roles in the plating process, but so does every preparation technique you choose before the plate is even warm. With structure built and tools in hand, the final question is how to know your plating instincts are ready for the dinner table.
|
📋 Share Your Grocery List Before the Party |
Plating with Purpose for Your Next Dinner Party
Every technique in this guide shares one premise: food preparation and presentation are not separate tasks. The moment you choose a color palette for your plate, decide on a style of plating, and pick the right plate, you are designing an experience—not just cooking a meal.
At dinner parties, your guests notice the effort in how food is presented. A memorable dining experience does not require a fine dining establishment or a culinary school certificate. It requires intention.
One new technique per meal—a better sauce swipe, a bolder contrast, an off-center focal point—compounds over time until you plate instinctively.
If your table setting needs the same attention, our guide on How to Set a Dinner Table Like a Pro (Without the Stress) pairs perfectly with these plating skills.
For the full hosting blueprint from invitations to cleanup, start with our step-by-step dinner party hosting guide, and for the unwritten rules that keep a gathering graceful, browse our dinner party hosting etiquette essentials.
As The Chopping Block’s guide to plating tips for home cooks puts it, the best place to practice is your own kitchen with friends on the way over.
And for the aspiring chef inside every host, Denby Pottery’s cooking tips and food presentation ideas offers a hands-on walkthrough of sauce-as-paint techniques that turn the plating process into a genuinely creative act.
|
Plate Your Protein Off-Center and Watch Eyes Widen |
Frequently Asked Questions
The five basic elements are color, texture, shape or form, arrangement (including the rule of thirds and negative space), and garnish. Together, they guide the eye across the plate and create visual appeal before the first bite. A well-plated dish balances all five rather than leaning on just one.
Basic food presentation techniques include classic plating, free-form plating, and landscape arrangement. Each uses focal point placement, negative space, and contrasting colors to make food look intentional. Home hosts can start with the rule of thirds and a clean white plate for the most immediate improvement.
Start with a plate that contrasts your food’s color, then build height by leaning or stacking components. Leave at least a third of the plate as negative space, use odd numbers for garnishes, and add a single bright accent like edible flowers or a drizzle of herb oil. These small moves create visual impact without extra cooking.
There is no fixed number, but most home hosts work with three to five core styles: classic, free-form, landscape, stacking, and sauce-focused plating. Each uses the same fundamentals — focal point placement, negative space, and contrasting colors — applied in a different arrangement. Start with classic plating for confidence, then experiment with free-form plating as your instincts sharpen.
No. A spoon, a clean towel for wiping rims, and a steady hand cover the basics. The one upgrade worth making is a squeeze bottle for sauces and accent dots — it costs a few dollars and gives you the control a spoon cannot match. Ring molds and offset spatulas are helpful for structured presentations, but they are optional rather than essential for a home host.
The rule of thirds is the fastest technique to learn. Place your main ingredient at one of the off-center grid intersections, leave a third of the plate as negative space, and add a single garnish of contrasting color. This three-step approach works on any plate shape and requires no special equipment — just a shift in where you position the food.
Continue Reading:
More On Food Presentation Techniques
- Brunch Setup Ideas: Creative Table Setting Decor for Home
- Easy Food Garnishing Techniques for Stunning Art
- Family-Style Dinner Wedding Guide: Best Meal Ideas
- Grazing Table Ideas: How to Create a Stunning Setup
- How to Plate Food Like A Pro: Easy Plating Tips
More from The Gourmet Host
- 7 Easy Dinner Party Ideas and Themes for Adults
- The Best Food to Cook with Friends: Fun Meals That Bring Everyone Together
- Interactive Dinner Party Ideas: Cooking Together for Memorable Gatherings
Explore TGH Categories